 English
 Español
 Français
 русский
 عربى
عربىMeatballs Automatic Machine: Practical Buyer's & Operations Guid
Content
- 1 Why choose an automatic meatball machine
- 2 Key technical features to evaluate
- 3 How to select the right model for your operation
- 4 Installation and day-to-day operation checklist
- 5 Cleaning and preventive maintenance schedule
- 6 Common troubleshooting and quick fixes
- 7 Real-world specification comparison (example)
- 8 Final purchasing and implementation tips
This article focuses on practical guidance for selecting, installing, operating, and maintaining a meatballs automatic machine for commercial kitchens and small-scale production. It avoids vague theory and gives actionable checks, daily workflows, maintenance schedules, and a clear comparison table to help purchasers and operators make a confident choice.
Why choose an automatic meatball machine
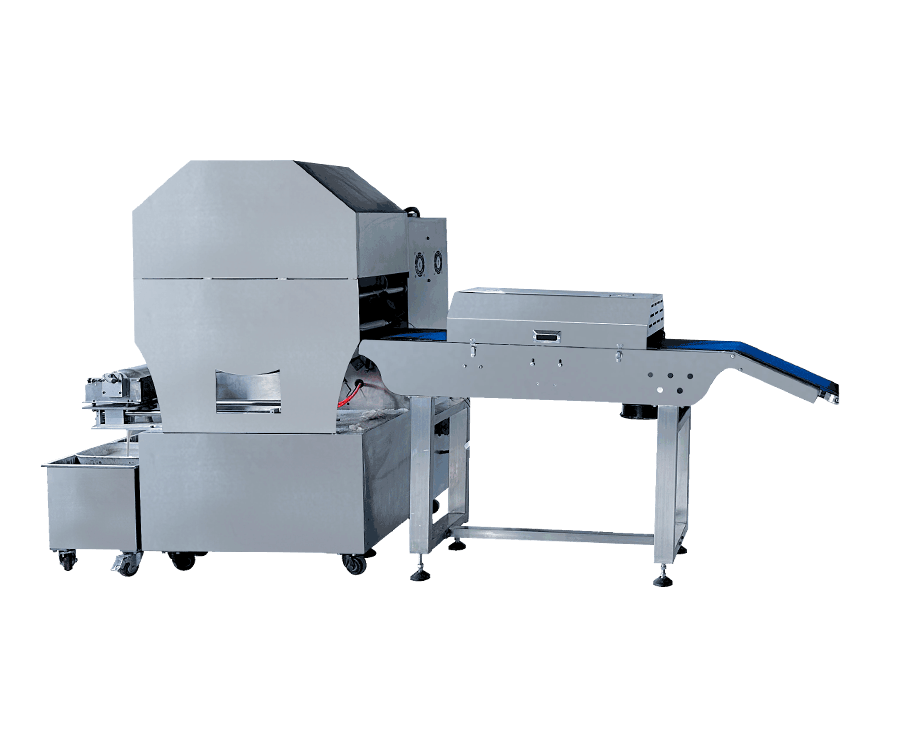
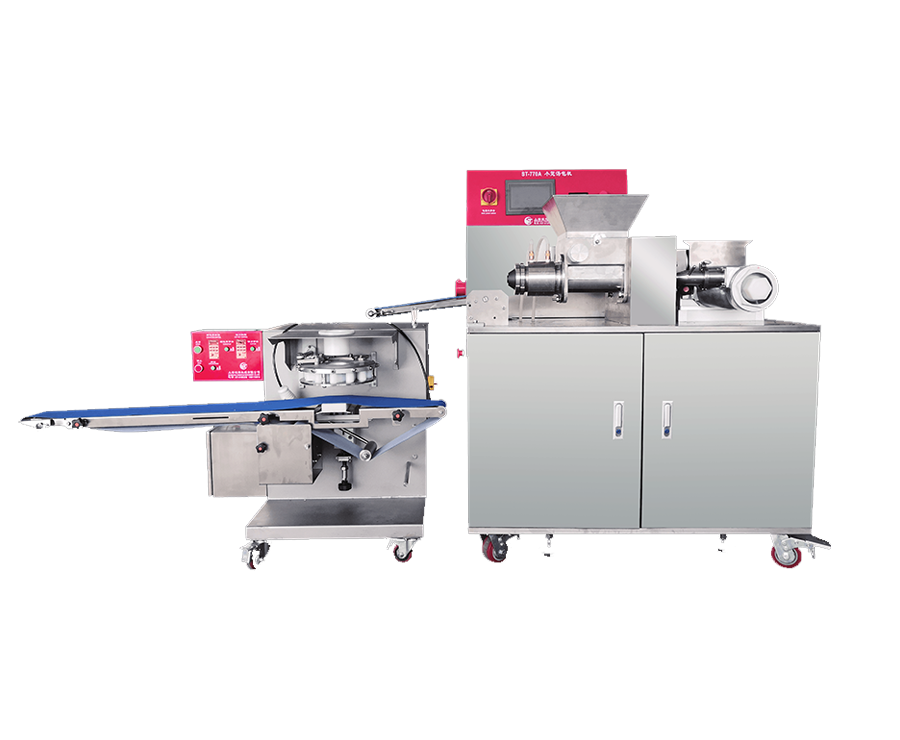
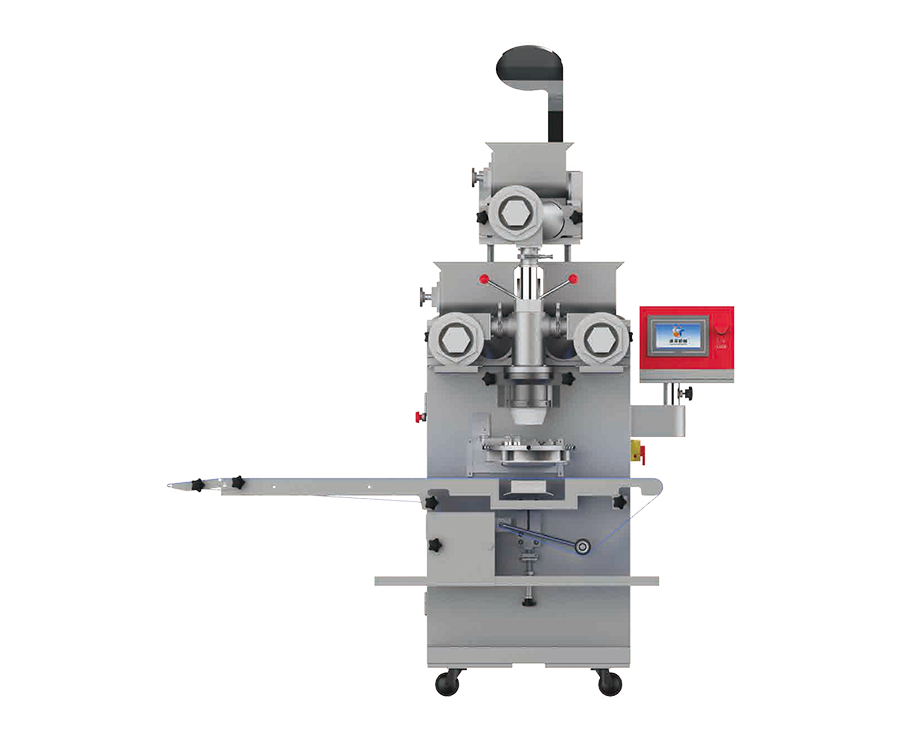
Automatic meatball machines (also called meatball formers or portioners) convert mixed meat or plant-based formulations into uniform spheres at a steady output rate. For foodservice, catering, and small manufacturing, they reduce labor, improve portion accuracy, and raise throughput while keeping inconsistent sizing and hand-fatigue to a minimum.
Key technical features to evaluate
Output capacity and speed
Capacity is usually expressed as kilograms per hour (kg/h) or pieces per minute. Match machine capacity to peak production — choose a model with at least 15–25% headroom above your busiest shift to avoid bottlenecks and allow for short maintenance stops.
Ball size range and forming system
Check the minimum and maximum gram sizes and whether the machine uses a forming plate, rotary molds, or a vacuum-assisted piston. Rotary and piston systems offer finer size control and faster changeovers; forming plates may be simpler to clean but slower to change.
Hopper capacity and feed method
Larger hoppers reduce refill frequency. Also confirm whether feed is gravity-fed, auger-driven, or uses a pump — viscous or sticky mixes (high-fat, high-binder) often need powered auger or pump feed to maintain steady output.
Material, sanitation, and safety
Stainless steel (304 or 316 where corrosive ingredients are used) is essential. Look for CIP (clean-in-place) compatibility, removable food-contact parts, IP-rated electrical enclosures, and easy access for inspection. Safety interlocks on guards and emergency-stop buttons are mandatory for commercial use.
How to select the right model for your operation
- Define production targets — daily and peak hourly output, number of sizes needed, and acceptable labor savings.
- Evaluate product variety — if you need multiple sizes or coatings, pick a machine with quick-change tooling or modular attachments.
- Check utilities and footprint — confirm electrical supply (single/three-phase), compressed air needs, and floor space including service clearance.
- Request on-site demos or sample runs with your exact mix — real-world performance with your recipe is far more reliable than spec sheets alone.
- Consider total cost of ownership — spare parts availability, service response time, warranty length, and expected consumable costs (seals, plates).
Installation and day-to-day operation checklist
Follow a consistent procedure to avoid downtime and food-safety risks. The short checklist below covers site prep, daily start, and shut-down steps that operators should train around.
- Pre-install: verify floor load, ensure level surface, confirm electrical/air hookups and proper drainage for washdown.
- Daily start: inspect seals and guards, test interlocks and E-stop, prime hopper/feed as instructed, run a short test batch to confirm ball size and weight.
- In-shift checks: monitor output weight and appearance every 30–60 minutes; remove excess build-up from forming area when production allows.
- End-of-shift shutdown: run machine with water or approved neutralizer if recommended, remove and store tooling, follow manufacturer cleaning steps.
Cleaning and preventive maintenance schedule
A routine schedule extends machine life and keeps food safety compliance. Below is a practical schedule you can adapt to your production frequency and product type.
| Frequency | Cleaning | Maintenance tasks |
| Daily | Disassemble food-contact parts; wash and sanitize; remove fat build-up from hopper and chute. | Visual check of seals, belts, and guards; lubricate bearings if required by manufacturer. |
| Weekly | Deep clean forming plates and cutter assemblies; inspect for wear and pitting. | Tighten fasteners, inspect electrical connections, test interlock function. |
| Monthly | Run a sanitation validation (ATP swab or similar) on high-risk surfaces after cleaning. | Replace wear parts as needed (seals, gaskets), inspect motor and gearbox for unusual noise. |
| Annually | Full strip-down and professional inspection if high-output use. | Replace critical bearings, calibrate weight/portioning systems, update firmware where applicable. |
Common troubleshooting and quick fixes
- Uneven ball size: check hopper feed rate, inspect forming plates for wear, confirm drive speed and replace worn tooling.
- Sticking product: reduce binder, chill the mix, add a light dusting agent (as allowed by recipe), or use chilled tooling; verify feed auger rotation and seals.
- Machine stalls under load: inspect motor amperage, check for clogged discharge, confirm proper air pressure if pneumatic components are used.
- Excess vibration/noise: tighten mounts and fasteners, inspect gearbox and bearings for wear, and ensure the machine is level on the floor.
Real-world specification comparison (example)
The table below illustrates common spec ranges you will encounter. Use this to shortlist models that meet your throughput, footprint, and utility constraints.
| Model / Type | Output (kg/h) | Ball size (g) | Hopper (L) | Power (kW) | Footprint (mm) | Price range |
| Small countertop portioner | 5–30 | 10–40 | 10–20 | 0.5–1.5 | 600×400 | $1k–$6k |
| Medium rotary/piston former | 30–200 | 15–80 | 40–120 | 1.5–4 | 1200×700 | $6k–$25k |
| High-output industrial line | 200–2000+ | 10–200 | 200–1000 | 4–30+ | 2000×1000+ | $25k–$200k+ |
Final purchasing and implementation tips
Before signing a purchase order, insist on these minimums: a live demo with your product, a clear spare-parts list with lead times, documented sanitary procedures, a written warranty and service response commitment, and operator training for at least two staff members. Budget for spare tooling and a small parts kit — that often solves 70% of unplanned stops quickly.
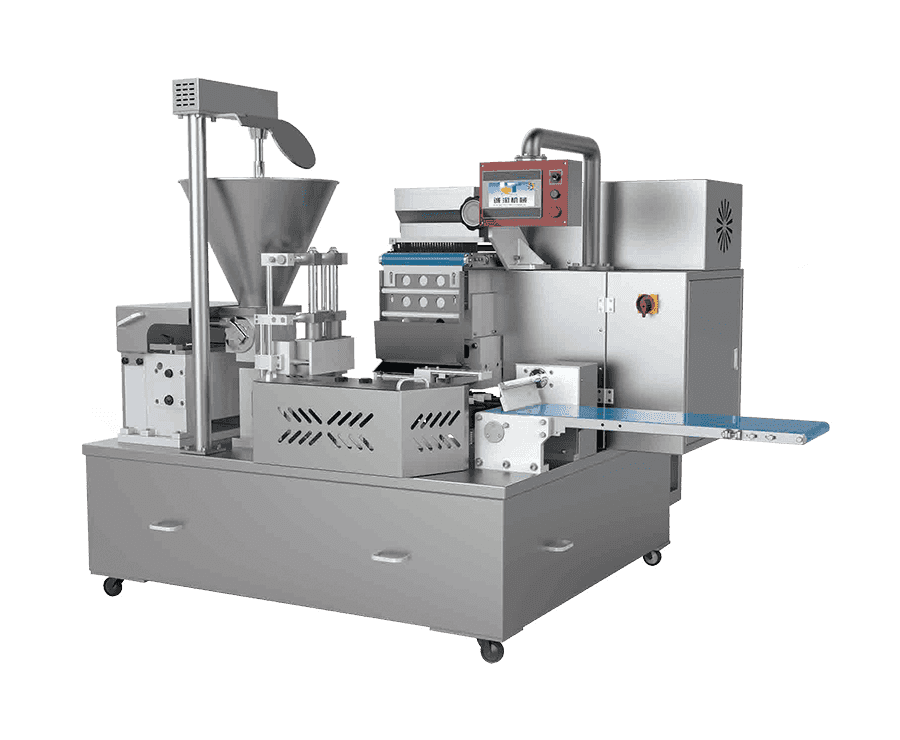
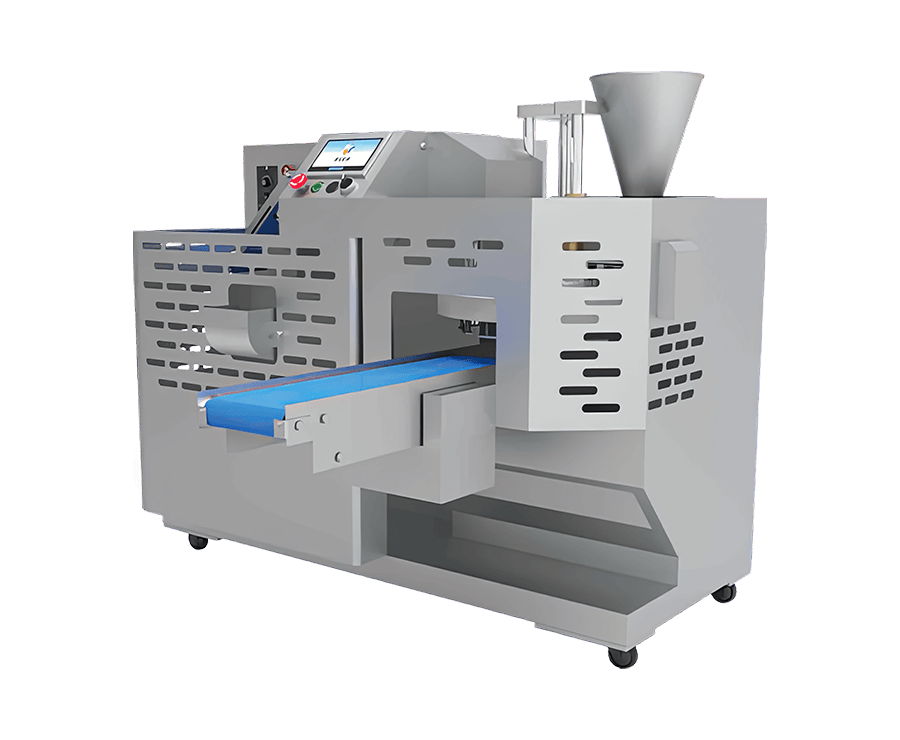
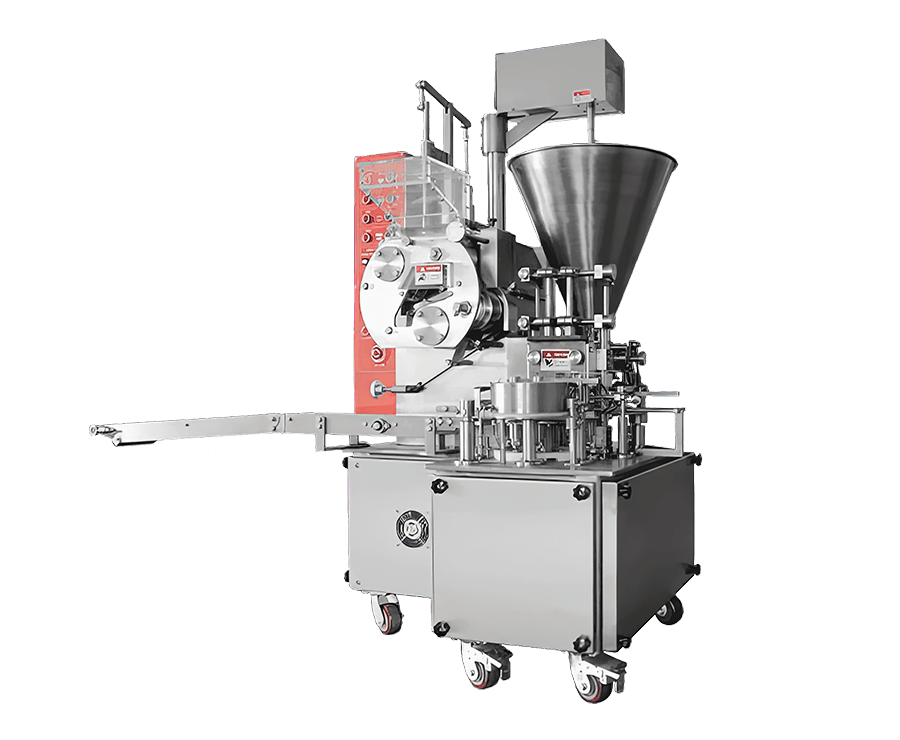
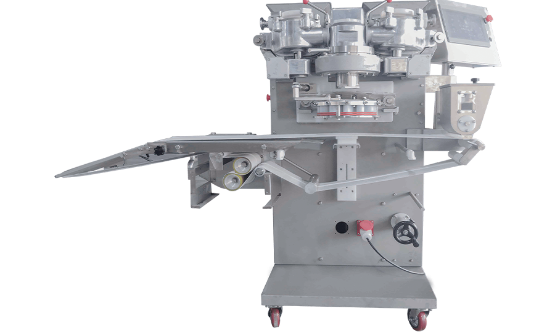
Related Products
Copyright © Shanghai Chengtao Machinery Co., Ltd. All rights reserved.  Food Machinery Manufacturers
Contact Us